Skydome Lighting
Download a free HDR panorama for instance here, preferably one without foreground objects. Unzip and copy the files from the sibl folder to your sourceimages folder. More panoramas you can find in our CG Link Document.

Add Arnold > Lights > Skydome Light

In the Color attribute of the aiSkyDomeLight choose a Maya > 2D Texture > File node.
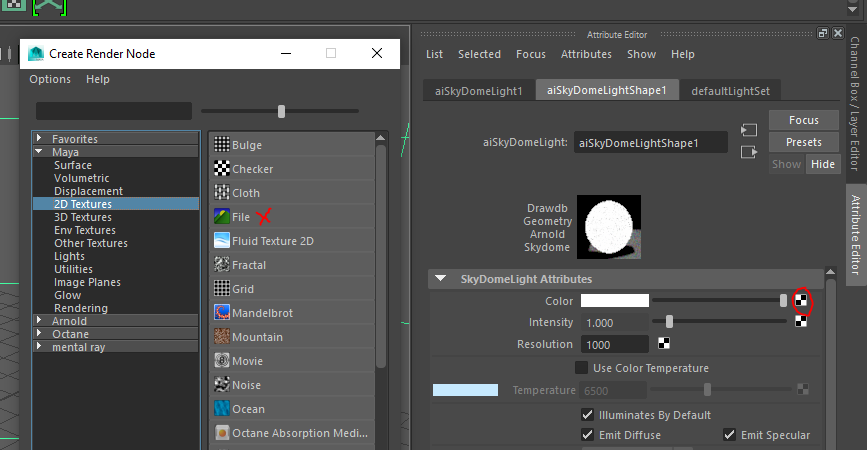
Connect the previously downloaded HDR panorama. Make sure to pick the proper .hdr file (not a blurred version).

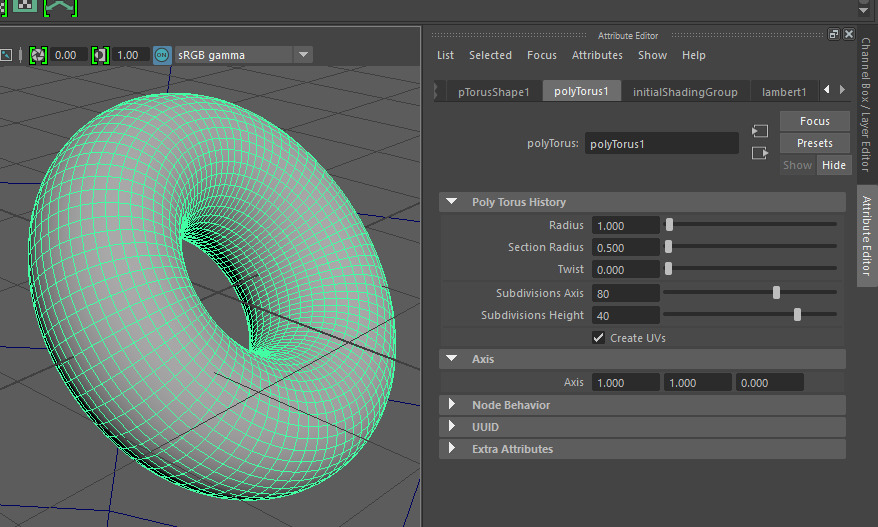
To make the effect of lighting visible, let’s create a simple polygon object, for instance a Torus with increased subdivisions.
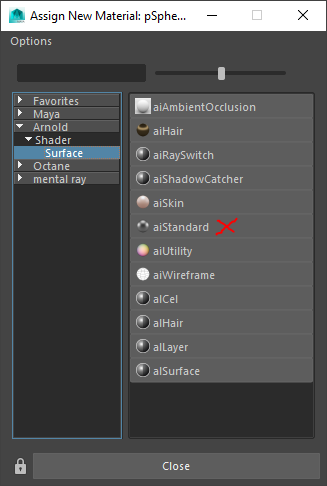
Select it and Assign New Material with the RMB.

Select Arnold > Shader > Surface > aiStandard
Change the Diffuse Weight of the new aiStandard material to zero, the Specular Weight to 1,00 and zero out the Specular Roughness to make it really shiny.

To see some shadows we add a cube below, stretch it and assign a new aiStandard material. Call the IPR (Interactive Preview Renderer) to see the result.

Now you should see the shaded objects without background. By rotating the viewport with Alt LMB the IPR changes accordingly.

